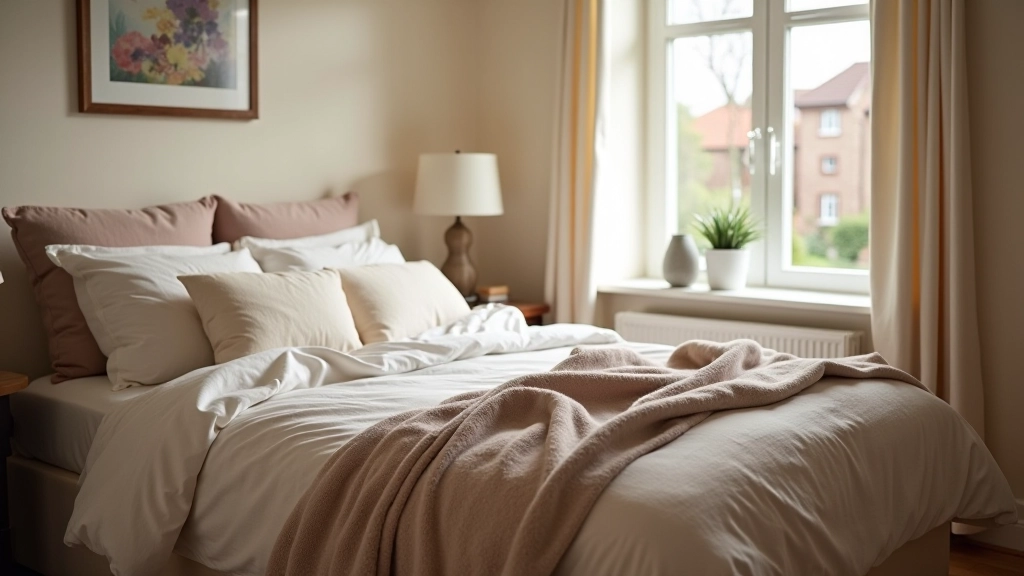
Why Draughts Matter More Than You Think
Winter heating bills don't have to be shocking. The truth is, most Irish homes lose heat through invisible gaps around doors, windows, and pipes. You're not just paying for warmth — you're literally heating the air outside. But here's the good news: draught-proofing isn't complicated. It's not even expensive. You don't need to hire specialists or wait months for work. Small fixes in the right places make real differences to both comfort and cost.
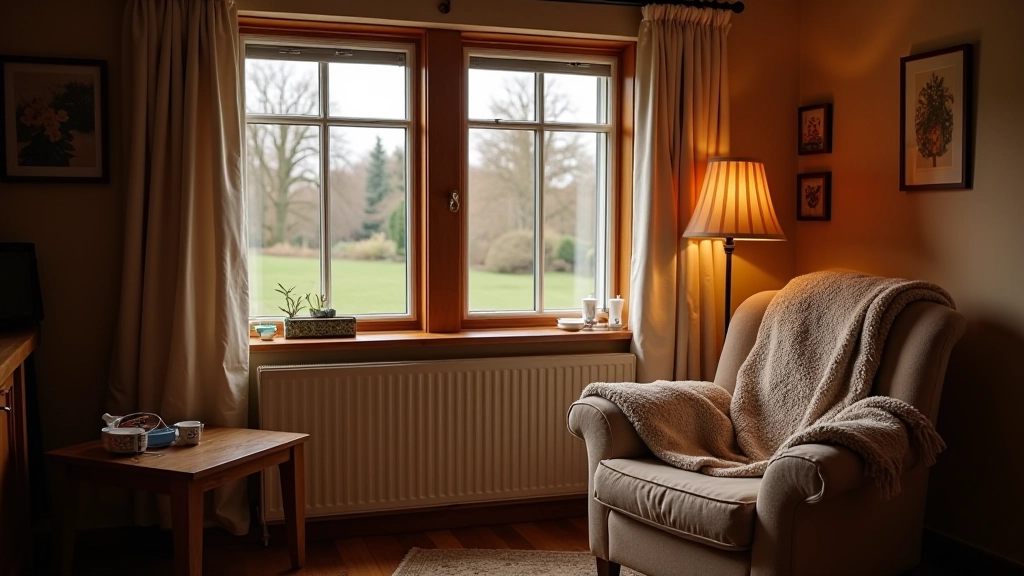
Where Draughts Actually Hide
Draughts aren't random. They follow specific paths through your home. The biggest culprits? Door frames and window edges account for roughly 40% of heat loss in poorly sealed homes. Letterboxes, keyholes, and extractor fans aren't sexy to talk about, but they're serious gaps. Pipes that pass through exterior walls, gaps between skirting boards and walls, even small cracks around electrical outlets — they all add up.
You'll find most draughts concentrated in three zones. First, the ground floor — cold air sinks and creeps in under doors and through floorboards. Second, around windows where frames have shifted or seals have degraded. Third, anywhere you've got penetrations through exterior walls — that's where pipes, cables, and vents create natural channels for cold air.
Quick test: Light a candle and hold it near door frames and window edges. Watch the flame flicker. That movement is your draught. Mark those spots — that's where you'll focus first.
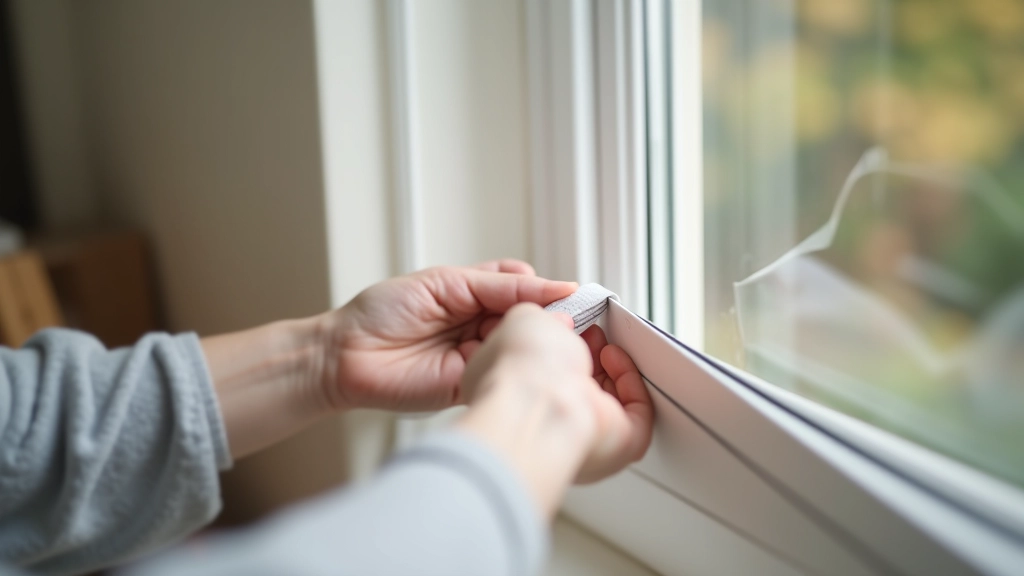
Self-Adhesive Weatherstripping: The Easy Starting Point
Weatherstripping tape is where most people start. It's cheap, it's effective, and you'll see results immediately. You're looking at foam tape or rubber strips that stick directly to the frame. Self-adhesive foam works best on wooden frames because it compresses slightly when the door closes. Rubber is better for metal frames because it doesn't compress as much over time.
Installation takes maybe 15 minutes per door. Clean the frame thoroughly — dust and debris stop the adhesive from bonding. Measure the perimeter, buy slightly more than you think you'll need (better to have extra), and stick it on. Don't skimp on corners. That's where most draughts sneak through. Expect to pay between €5 and €15 per door. You'll notice the difference within a day — less noise, less cold air, noticeably warmer rooms.
Installation Tips:
- Clean with methylated spirits first — removes residue
- Press firmly for 10 seconds after placing — improves adhesion
- Start at the top — work downward to avoid bubbles
- Replace every 2-3 years — adhesive eventually loses grip
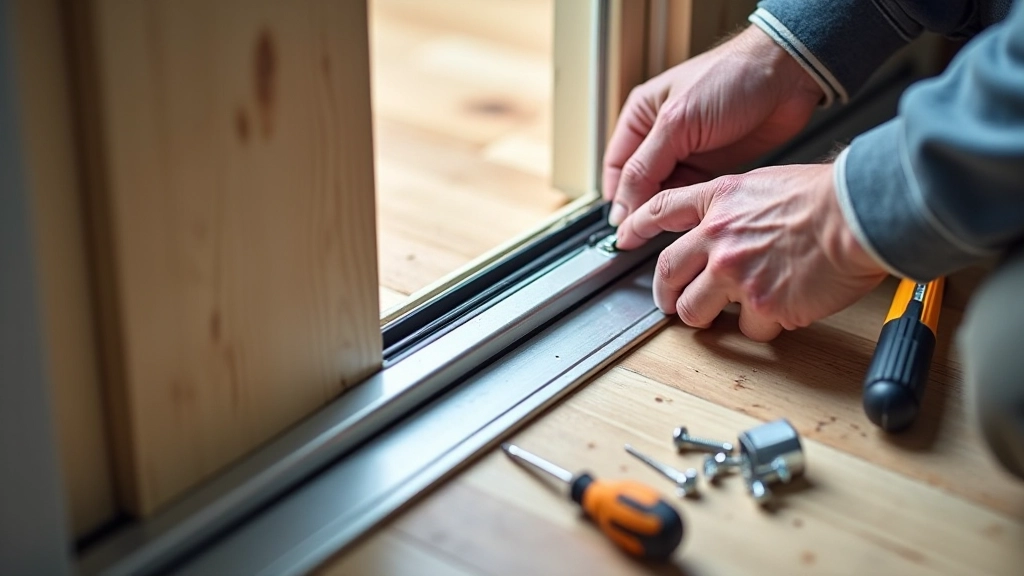
Door Seals and Threshold Strips
The bottom of the door is where most heat escapes. You can lose more warmth through that 1cm gap than you'd expect. Threshold strips solve this. They're metal or plastic channels that fit into the bottom of the door frame and create a seal when the door closes. Brush-style draught excluders are the traditional option — they're affordable and they work. Silicone-based seals are more modern and last longer, but cost a bit more.
Measure your door width carefully. Most thresholds come in standard widths, but some doors need custom fitting. Installation usually means removing the old threshold if there is one, then screwing in the new one. It's straightforward work, maybe 20 minutes. If your door swings both ways or you've got thick carpeting, you might need a bevelled threshold so it doesn't catch. Don't cheap out here — this is where you'll get the fastest payback. One good threshold can reduce heat loss by 10% on its own.
Sealant for Gaps and Cracks

Weatherstripping handles moving parts. Sealant handles permanent gaps. Those cracks between your window frame and wall, gaps around pipes that go through exterior walls, spaces where skirting board meets the wall — these all need sealant. Silicone-based sealant is flexible and lasts longer than acrylic, which matters because buildings move. You want something that'll flex with temperature changes, not crack and fail.
Work's straightforward if you've got patience. Cut the sealant tube at a 45-degree angle, apply steady pressure, and smooth with a wet finger. It sounds simple, and it is, but rushed work looks messy. Take your time. Sealant stays visible, so it's worth doing properly. One tube costs about €3 and covers maybe 10 metres. You'll probably need 3-4 tubes for a typical house. Wait 24 hours before exposing to weather.
Your Winter Comfort Starts Now
Draught-proofing isn't sexy work. It's not the kind of home improvement that impresses guests. But it's the kind that makes you actually comfortable during winter. It saves money. It reduces condensation and damp problems. It makes your home quieter. And you can do most of it yourself on a weekend afternoon.
Start with your main external doors. Those weatherstripping kits and threshold strips will deliver the fastest results. Then move to windows. Work through systematically — ground floor first, then upper levels. Don't expect perfection. You're aiming for 80% reduction in draughts, not 100%. That last 20% usually requires expensive professional work, and honestly, it's not worth it.
Budget maybe €50-€100 and a weekend. You'll stay warmer, your heating bills'll drop, and you'll wonder why you didn't do this sooner. That's the real payoff.
Information Disclaimer
This article provides educational information about draught-proofing methods and general best practices. It's not professional construction or installation advice. Every home is different — building materials, construction standards, and structural conditions vary. Before starting any installation work, check your specific circumstances. If you're unsure about any aspect, consult a qualified tradesperson. Improper installation can affect ventilation or create other issues. This content is for informational purposes and reflects general approaches — your home may require different solutions.